
Note
- Hi everyone, my name is Ben. I'm a software engineer working exclusively with Linux systems over at Red Hat
Contents

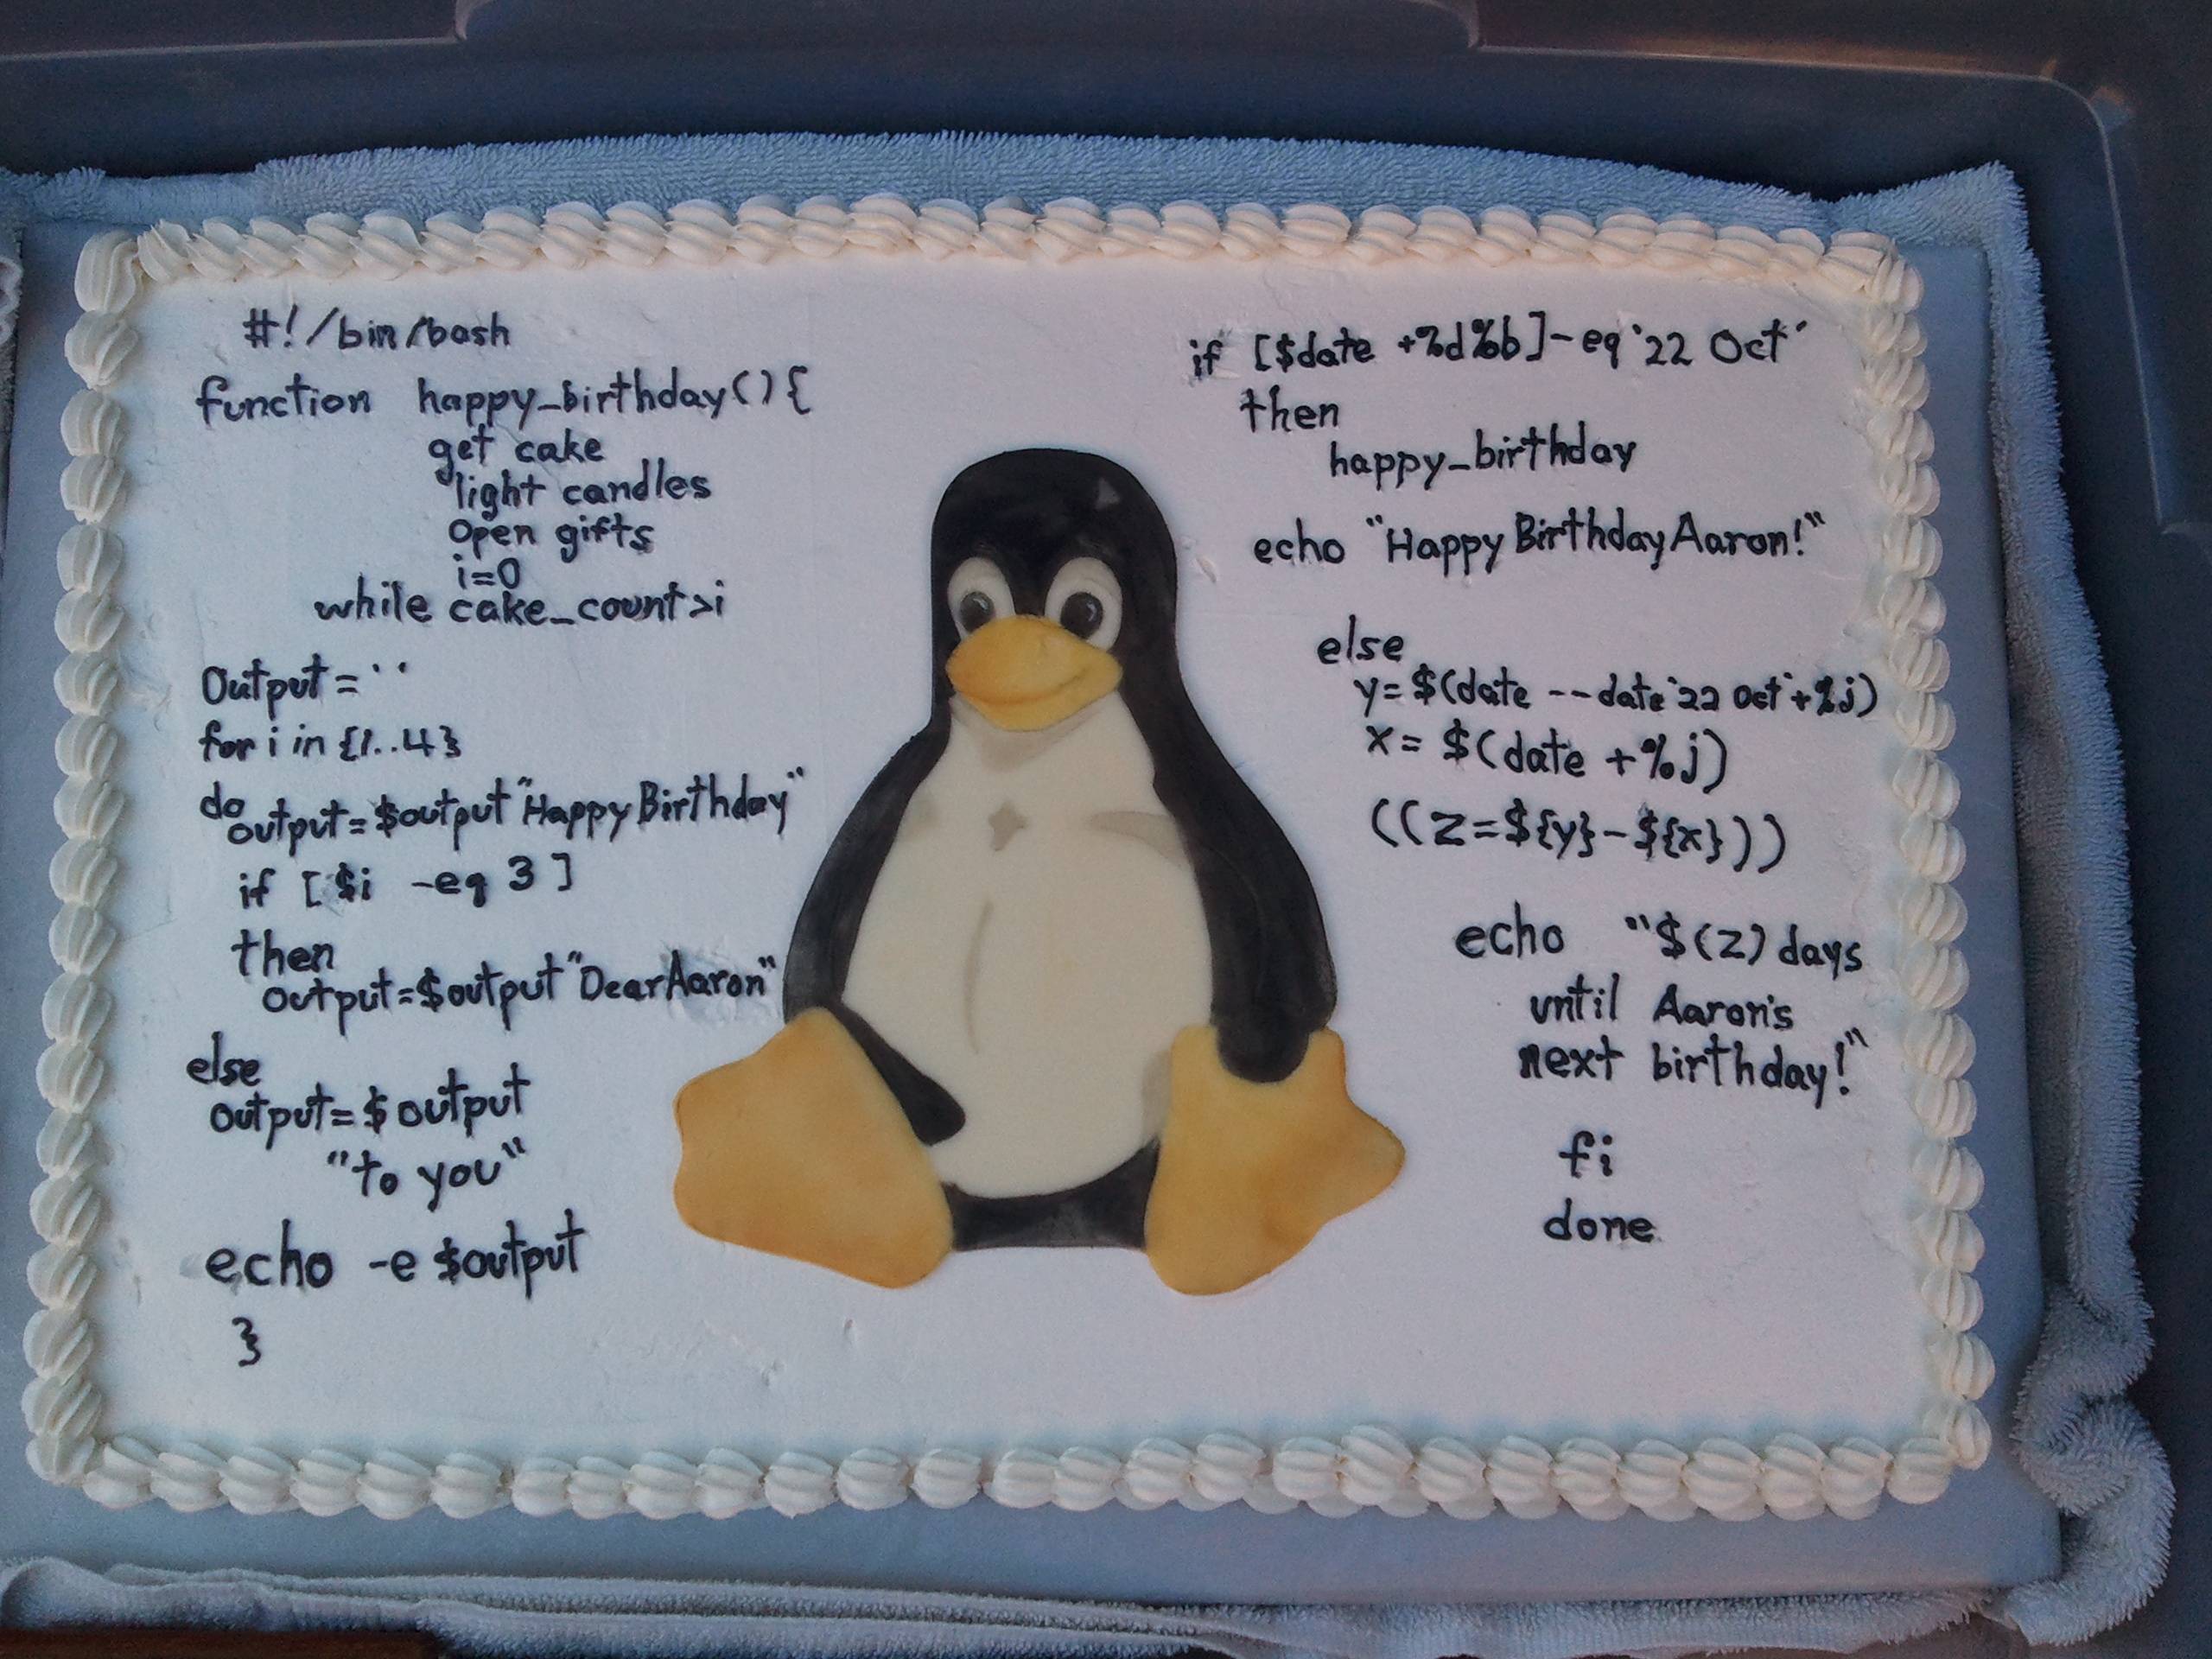
CC0 Public Domain https://pixabay.com/en/linux-tux-administrator-animal-154544/
- What is the Linux Kernel?
- What does it do for us?
- Why and how
- Installation
- Packaging
- Fixing Bugs
Note
- We're going to cover a lot today
- If you've ever wanted to know what building a kernel is about, or why you might want to do it, you're in the right place.
- Prior knowledge: Linux command line, installing packages, general compiling commands like 'make'.
What is the Linux Kernel?

I think we've got a hacker
- System (call) command processor
- Brain
- Image file + module files
Note
- https://www.youtube.com/watch?v=RaW-opIh7GE
- It's the "system command processor...It's the brain!"
- It's the first program that runs once your computer is booted
- It primarily consists of an image file and (optionally) many kernel module files, each adding new features
Responsibilities

- Device drivers + common interface
- User space vs Kernel space
- Memory management
- Services to userland (Filesystem, networking, schedulers)
Note
- The kernel is responsible for handling device drivers and providing resources for user space
- Device drivers are the pieces of software that make all the separate hardware components work
- It also handles memory management. From a user's perspective that means your program can simply request a chunk of memory from the kernel. It doesn't have to worry about where that memory comes from, or if it could be inadvertantly used by another program.
- Maybe most importantly it provides services to userland. These are things like a filesystem to organize your files, network connections to be able to communicate between programs and to other systems, and scheduling.
- There are many schedulers for resources that run better when ordered. Popular examples are a disk scheduler, which has a queue of read/write requests, and can reorder them to keep a hard drive from thashing, and a process scheduler, which allows your computer to share the processor between multiple processes. That's very useful.
Files of a Linux Kernel
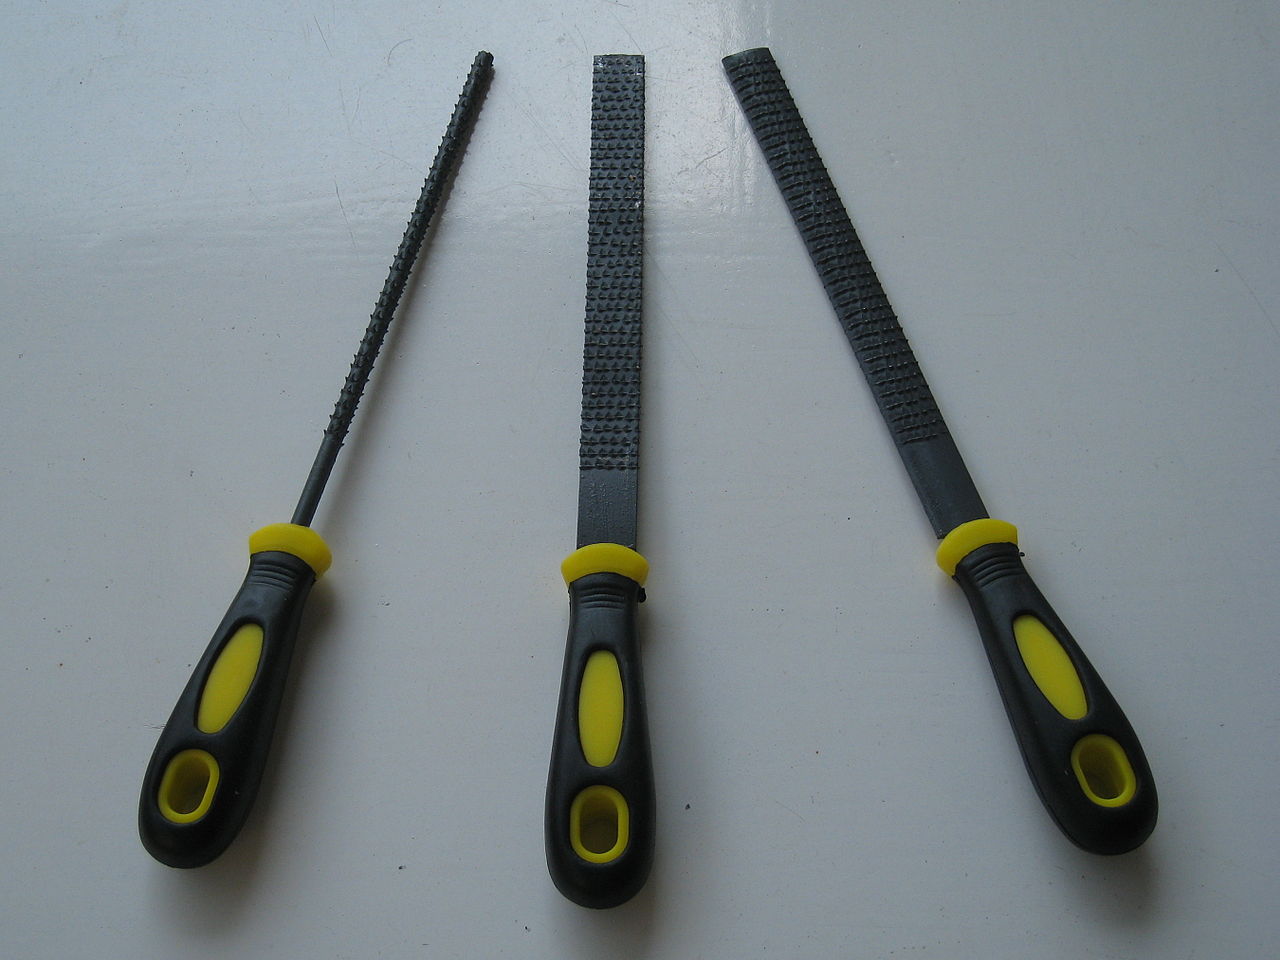
Public Domain https://commons.wikimedia.org/wiki/File:Raspe.jpg
/boot/vmlinuz- The Kernel image itself/lib/firmware- Firmware blobs to initialize hardware/lib/modules/$VERSION/**/*.ko- kernel modules/usr/src/linux-headers- kernel headers
Note
- These are the files of the Linux kernel that live on your disk
- The first is the linux image itself. This is the image file that our bootloader runs to start our system.
- The 'vm' is a throwback to old Unix, when the kernel was called /unix. This was before virtual memory. When virtual memory was introduced, kernels that supported it were prepended with vm-. Thus, vmlinux. The 'z' at the end means it's compressed. This has some advantages to booting on systems with low memory, but is now the standard for x86 PCs.
- The /lib/firmware directory is a place for firmware blobs to live. These blobs are required to initialize a lot of the hardware pieces on your system. These make me grumble because although they're released under a free license, they're difficult to understand or reverse engineer.
- The /lib/modules directory contains all the kernel modules and a few more files. Besides the image itself and firmware blobs, everything that is responsible for the runtime of the kernel lives in here. If you compiled everything in, this is optional.
- We'll get into where these files come from and how to make them ourselves later
Reasons for Building a Kernel

- Different version than your distribution supports
- Smaller size, faster performance
- Distro kernel doesn't contain modules you need
- Development + bug fixes
Note
- These are some reasons for building a kernel.
- Your distribution might not package the version of the kernel you want. If you want a newer version for trying new features, or have hardware that relies on an older kernel, you might want to consider it.
- Custom kernels are smaller in size and in some cases can be significantly faster. If you're in a situation where performance or footprint are critical, it can be useful to build a custom kernel.
- You might also need to build a new kernel if the distribution-provided one doesn't have the feature that you need. Sometimes you'll be able to simply compile a new module into your existing kernel, but not always.
- You could run across a bug in an existing kernel and would like to try to fix it, or have a new piece of hardware that you'd like to try to add support for.
Scenario + Building a Module

CC0 Public Domain https://pixabay.com/en/wlan-signal-black-wireless-network-303722/
- Install your kernel headers (
linux-headerspackage) - Get the driver source from the manufacturer
- Build the driver
- Install the driver
Note
- Scenario: You just bought a new laptop. You install Fedora on it, and are disappointed to find that WiFi is not working out of the box. You read online that card is supported under Linux, but must be used with a separate manufacturer-supplied driver.
- Your first order of business is to install the linux headers for your particular kernel version. You can usually grab these from your districution as a package called linux-headers (or maybe linux-source). These are necessary for your external modules to know how to build against your kernel.
- You'll also need to go to your manufacturer's web site to download the driver source. This part can vary between manufacturers, but it should come with a README file. Follow the README.
- You'll also need to install the driver after successfully building it.
- Let's look at how to do each step next.
Building a Module (from source)
Installing the linux headers package
$ sudo apt-get install linux-headers
Fetching and installing the wifi driver
$ wget https://www.broadcom.com/wifi-driver.tar.gz
$ tar zxvf wifi-driver-source.tar.gz
$ cd wifi-driver-source/
$ make && sudo make install
$ sudo modprobe wifi-driver
$ dmesg
dmesg output
e1000e: Intel(R) PRO/1000 Network Driver - 3.2.6-k
e1000e: Copyright(c) 1999 - 2015 Intel Corporation.
e1000e 0000:00:19.0 eth0: Intel(R) PRO/1000 Network Connection
Note
- First we install our headers
- Then we grab our wifi driver from the manufacturer's site
- Then we unzip the driver source
- Afterwards we run it's make script. Sometimes you have to include the "-C" argument to the kernel you want to build against.
- Finally you run make install to install the module.
- To test it out, you should try to modprobe it. Silent usually means it succeeded. Otherwise it's probably an error. You can verify by checking your kernel ring buffer (dmesg)
Grabbing the source
Grabbing the source from git
$ git clone https://github.com/torvalds/linux
$ cd linux
$ git checkout v4.8
Grabbing a source tarball from the kernel.org website
$ firefox https://www.kernel.org/
$ wget https://cdn.kernel.org/pub/linux/kernel/v4.x/linux-4.8.7.tar.xz
$ tar -xf linux-4.8.7.tar.xz
Note
- First we'll need to grab the kernel source. We can do this a few days. The first way is to do a simple git clone. You can either use Linus's official repository, or his Github mirror (github.com/torvalds/linux).
- Or you can point your web browser to kernel.org and grab the source from there. Afterwards you need to unzip it. If you're only doing a one-off kernel it might be worth grabbing the source.
- If you're going to make a hobby of this, maybe grab the git repository instead. It'll be bigger, but is easier to keep up to date. It's also your choice if you want code newer than any release and you like to live on the bleeding edge.
Configuring the kernel

- Make custom config from scratch (hard way)
- Use an existing config with oldconfig
Custom Config (the hard way)
$ cd linux
$ rm .config; make menuconfig
Using an existing config
$ cp arch/arm/configs/corgi_defconfig .config
$ cp /boot/config-4.8 .config
$ make oldconfig
Note
- Here's a small interactive portion. This is what a config file looks like. $(zcat /proc/config.gz). It's just a bunch of OPTION=(|Y|N|M)
- Even though it's named oldconfig you can give it any config, and it will massage it to work.
- Defconfigs are existing configurations that exist inside the linux source tree. They're located in arch/$ARCH/configs/. The x86 one is pretty generic, but the arm ones are really useful. This one is called corgi. I don't know what that is, but it's probably a little SBC board.
Building a Kernel (from source)
$ sudo apt-get install build-essential
$ make all # all = bzImage + modules
$ ls -hl arch/x86/bzImage
-rw-r--r-- 1 bkero bkero 4.6M Oct 31 10:52 arch/x86/bzImage
$ ls -hl drivers/net/slip/slip.ko
-rw-r--r-- 1 bkero bkero 120K Oct 31 10:50 drivers/net/slip/slip.ko

Note
- You need build-essential for a compiler. The requirements list is very small
- Do a demo of make menuconfig
Using an Initrd (source)
- What is an
initrdorinitramfs? - Distro tools needed:
mkinitcpioormkinitramfs
Create an initramfs
$ sudo mkinitramfs -o /boot/initrd-$VERSION $VERSION
$ ls -hl /boot/initrd-$VERSION
-rw-r--r-- 1 root root 7.0M Aug 31 17:54 /boot/initramfs-4.8
Extract files from an initramfs
$ zcat /boot/initramfs-4.8 | cpio -idmv
usr/bin/...
usr/lib/modules/...
etc/...
Note
- An initramfs is a small filesystem that's used to boot your system. It's all contained in a single file. Older versions used a filesystem, newer versions use an archive format like zip or tar called cpio.
- cd $HOME/kernel
- zcat initramfs-linux.img | cpio -idmv
Building & Packaging with Debian Tools
Fetching and Building
$ apt-get build-dep linux
$ apt-get source linux
$ cd linux-3.13.0
$ debuild -b -i -uc -us
Installation
$ ls *.deb # oh god ^C^C^C
$ dpkg -i linux-kernel-4.8.deb linux-headers-4.8.deb \
          linux-modules-4.8.deb # installs kernel + grub script
$ sudo reboot
Note
- First we need to fetch and build it. Apt-get, the package manager for Debian and friends (including Ubuntu) has a feature called build-dep, which installs the build dependencies for the package we specify. In this case that's the linux kernel.
- Then the next command, apt-get source downloads not only the source for the package, but the requirements for building the package.
- demo SSHing in to bkero-general, cd linux; debuild -b -i -uc -us; ls *.deb
Installing your Kernel (source)
$ make modules_install install
$ ls /boot/vmlinuz
$ make modules_install
$ cp arch/x86/bzImage /boot/vmlinuz-myawesomekernel
Note
- You can use the install target for installing the kernel image, or if you like as little 'magic' as possible you can simply copy the kernel image from its directory into /boot. This is ideal if you want to change the filename, as by default it's simply 'vmlinuz'.
Booting with GRUB
- Some distros provide update-grub/grub-mkconfig script
- Need to add entries to config file (/boot/grub/grub.cfg)
/boot/grub/grub.cfg
menuentry 'My Awesome Kernel' {
  set root='hd0,msdos1'
  linux /vmlinuz root=/dev/sda2
  initrd /initrd.gz
}
Note
- This is what a snippet from grub.cfg. This is grub's primary config file, and where autodetected kernels appear. You can also manually add things here, but if you run grub-mkconfig afterwards, your manual changes will be overridden. You might have more luck putting things in /etc/grub.d/40_custom
- Reboot!
Does Everything (Still) Work?
- Graphics
- Networking
- Hard disk
- Input devices
- Snazzy new feature
- Power management
Note
- You're going to want to test that everything works as expected. The most common things to fail are graphics, networking, hard disk, and input devices.
- If this is a mobile device, you'll want to make sure that your power management works as expected, or else you'll set your lap on fire and burn through your battery in a matter of minutes. This can be done with tools like working sensory organs in combination with tools like powertop
- The first time doing this is always the most difficult. But you should have the old kernel to fall back on, so you should never be without a working system.
Your First Kernel Patch
- Sign up for the Linux Kernel Mailing List (LKML)
- Set up email to work from the command line (mutt ideal)
- Clone the kernel repository
- Make your change(s), hopefully in a module to be tested
- Build your new module/an entire new kernel
- Load your module
- Test your changes. Make sure your module is enabled in the kernel config.
Note
- First you'll be setting up email to work locally. There are instructions on KernelNewbies.org about doing this, and you can even set up your local system to work with GMail. This is because all patch submissions are done via e-mail to a mailing list.
- Next you'll obviously be needing a local copy of the code in a git repository. We've covered this. Git is out of the scope of this talk. I hope you either have used it before or have attended an introductory talk here at SeaGL and are looking forward to trying it out.
- Next you edit a file that you'd like to change. To demo here we're going to edit the e1000, which is a driver for the very common Intel Ethernet chip.
- Afterwards you'll need to either compile your standalone module, or compile (and boot into) a new kernel if the symbols that your module needs aren't available.
- Now you'll need to test your changes. This is easier if you're working on hardware that you actually own and can test. Believe it or not, most kernel developers don't actually own the hardware that they build and fix drivers for. Print debugging helps a lot here. That is, using the printk() call to print messages to the kernel ring buffer about the state and events relating to the driver.
Example Time!
Note
- cd code/linux
- zcat /proc/config.gz > .config; make modules_prepare
- ls; cd drivers; ls; cd net; ls; cd ethernet; ls; cd intel; ls; cd e1000; ls
- vim e1000_main.c
- Edit the driver ID line to say 'HELLO WORLD'
- cd /usr/lib/modules/uname -r/build
- make modules M=/home/bkero/code/linux/drivers/net/ethernet/intel/e1000/ (be sure it ends with a trailing /, if you're running the kernel from the dir, can cd to that one)
- sudo modprobe -r e1000
- sudo insmod the resulting file
- run dmesg, observe new output
- SAY okay, we like our "bug fix", now to use the kernel's checkpatch script to see if there's anything we can fix
- cd code/linux; git diff | scripts/checkpatch.pl
- Okay, there are some things to fix
Distribution
- Way too extensive to cover here
- Sorry SuSE, Debian, Gentoo, Arch, Fedora
Note
- To comprehensively cover distribution would require more time than we have, so we're only going to go over the basics.
- Sorry you guys, but I just wanted to cover the systems I'm most familiar, and what I feel might be the most popular
Personal Package Archives (PPAs)
- Ubuntu-specific
- Uses Launchpad
- Source-only
- Built and "tested" by Launchpad
- Tools exist to do this from the command-line
- Easy installation
Note
- You'll always hear these referred to as PPAs, not the longer name.
- If you're familiar with debian you can think of these as some magic around repo files
- The model has users uploading source (control) files, launchpad takes care of the building and publishing of it
- As we'll see there are command-line helpers to do this, namely dput
Personal Package Archives (PPAs)
- Upload GPG key to keyserver.ubuntu.com
- GPG sign the Code of Conduct
- Create the PPA through launchpad.net
$ debuild -k<gpgkey> -S
$ ls -hl ../linux*.changes
-rw-r--r-- 1 bkero bkero 8.3K Mar  4 19:00 linux_4.4.0-64.85_source.changes

$ dput ppa:<username>/<ppaname> ../linux_4.4.0-64.85_source.changes
Successfully uploaded packages.
$ sudo apt-add-repository ppa:ben-kero/linux
$ sudo apt-get update && sudo apt-get install linux
Note
- First you need to upload your key to keyserver.ubuntu.com. You can do this through gpg or through the web interface.
- Next you'll need to download, sign, and upload Ubuntu's code of conduct
- Then you'll need to log into the web interface (launchpad.net) to create the PPA on their end
- Afterwards you'll run debuild -k$KEY -S to build and sign the source packages
- Finally you'll execute dput and tell it what to upload, and which PPA on launchpad it should go to
- Ubuntu will then dutifully build and test the packages, then advertise and publish them
Involvement Resources
- KernelNewbies.org
- Kernel Janitors mailing list
- LKML - Linux Kernel Mailing List
- linux.git/scripts/
Note
- KernelNewbies.org is a site full of resources for people who want to improve their kernel hacking skills, or to get involved with the Linux kernel community.
- Kernel Janitors has a TODO list of things that can be done organized by the skills required. That means that even though you might not be the world's best C hacker yet, you can still contribute. The site has gone through a migration, but didn't really fare well. It still has an active mailing list though.
- LKML is the Linux Kernel Mailing List. For new contributors this is mostly a lurk-only list. It's had a reputation of not being the most friendly place in the world.
- Lastly there's a most excellent scripts/ directory inside the linux kernel source.
Submitting Bugs

Zarro Boogs found - https://twitter.com/richrogersiot/status/659059780477173760
- bugs.kernel.org
- bugs.redhat.com
- Launchpad
Note
- Submitting kernel bugs can be done a few places. First is to the Linux kernel bug tracker itself. Read KernelNewbies to find out how to format a bug for submission. This usually involves creating a bug and attaching your dmesg, kernel version, and kernel config, along with any other context or resources that might be valuable in reproducing.
- You can also submit to your distribution's bug tracker. For CentOS, RHEL, and Fedora you can submit to bugs.redhat.com, and an engineer will investigate and might open a bug on bugs.kernel.org on your behalf. Launchpad is used for Ubuntu, and the first thing they're going to tell you to do is to try reproducing your problem on a vanilla kernel (that is, a kernel without their patches). If you can't, then it's an Ubuntu problem. If you can, then they'll likely tell you to go submit a patch upstream.