Hack

Finding the perfect ancillary travel device
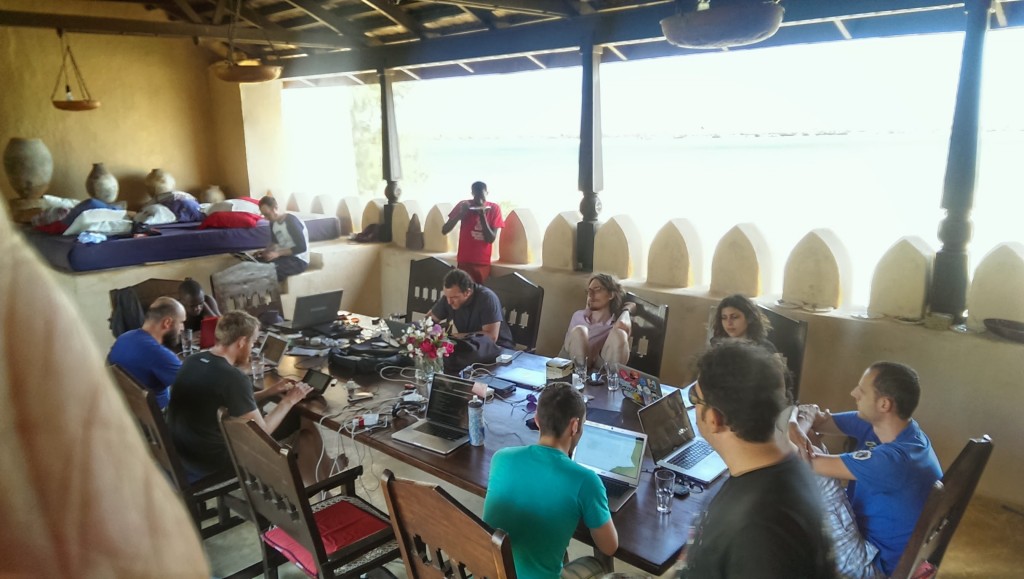
Hackerbeach attendees at the upper dining table

As would be familiar to anybody who knows me, I’m always interested in new tech, especially when it’s running free software and portable enough to be in my every-day carry arsenal.

For the past month or so I’ve been looking at a few devices as a secondary to my laptop to carry with me. In a few weeks I’ll be joining those already there at third installment of Hackerbeach, on the Caribbean island of Dominica.
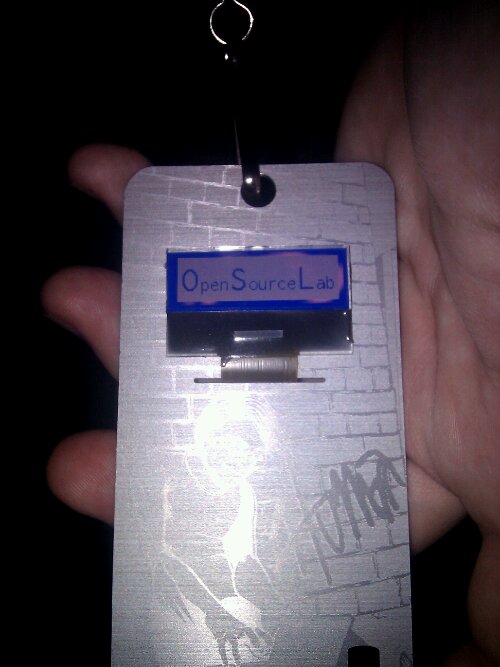
Defcon Badge Hackery

Photo

Some of the OSUOSL employees attended the recent DefCon 18 conference.  One of the more uncommon features was the conference badge.

In addition to being a ticket for entry into the conference,  it’s also a hackable piece of hardware complete with 128×32 LCD screen, and microprocessor.  The source code for the badge is available online.

Corbin Simpson, a developer at the OSU Open Source Lab spent a large portion of his time at the conference developing and uploading new software onto his badge.  His first badge hacking project was to upload new images to show his appreciation for the lab.

Restoring GuruPlugs

At which point I decided I wanted to try to restore the original kernel, so that I would at least have a working system with which to test.  Therein lied the rub.  The files posted here are completely broken.

Thankfully, a friend of mine also ordered a GuruPlug.  So I grabbed his images. Here’s how to ACTUALLY restore your GuruPlug if you flash a bad kernel to it.

Download the extracted uImage.  This was created by the command ‘dd if=/dev/mtdblock1 of=uImage’.

Installing Windows Vista/7 the lazy way!

Warning:  This information comes without a warranty.  I wont guarantee support if you break your hardware.  Im not responsible for anything you do with this information.  For entertainment purposes only.  I`m probably lying.

1.  Obtain your Windows ISO.  Probably using MSDNAA or something.

2.  Make sure your hard drive is partitioned properly.  This means leaving one partition open for windows.  Make sure it`s easily identifiable from the windows installer(I give Windows 120GB of my 160GB drive).  For this demonstration, I will use the 1st partition on my 1st disk(referred to as sda1).  You can create a partition for this by using the GParted application to shrink a partition, then use the free space to create the windows partition.